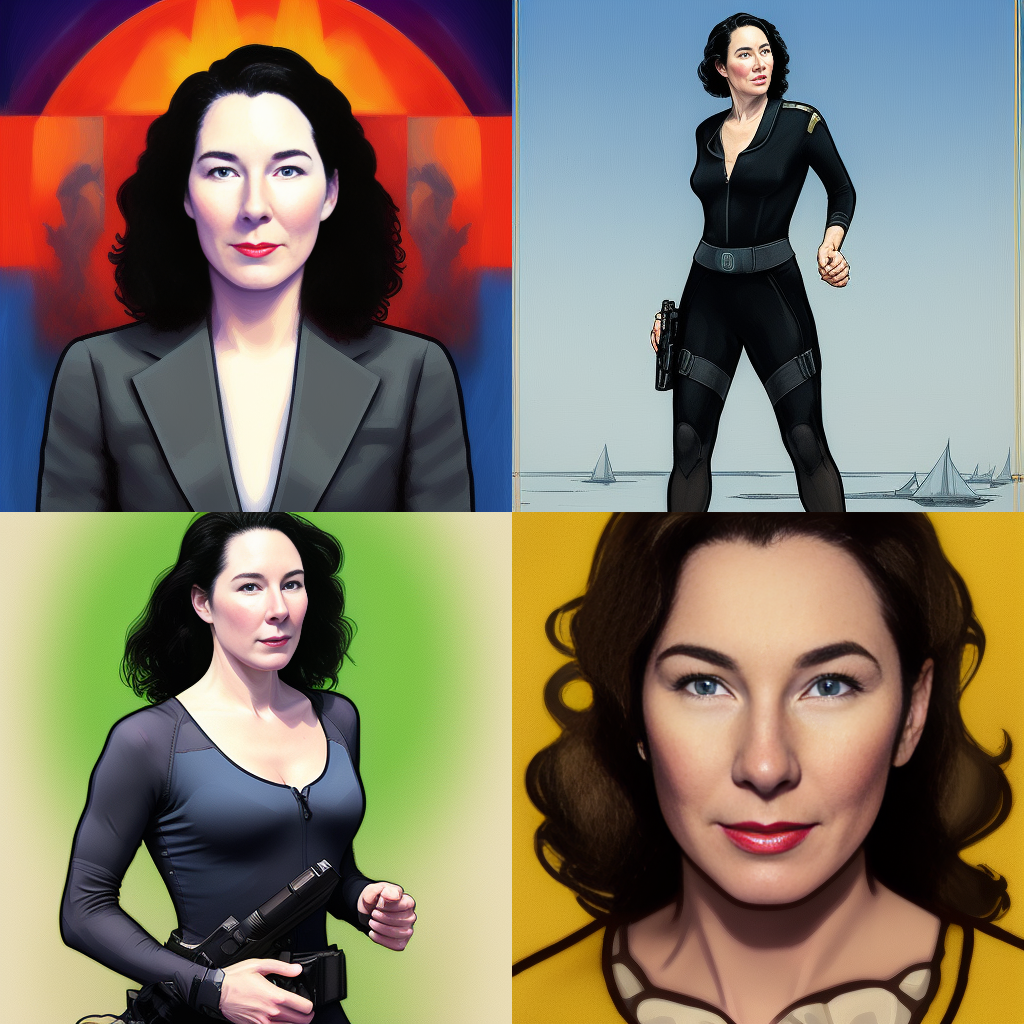
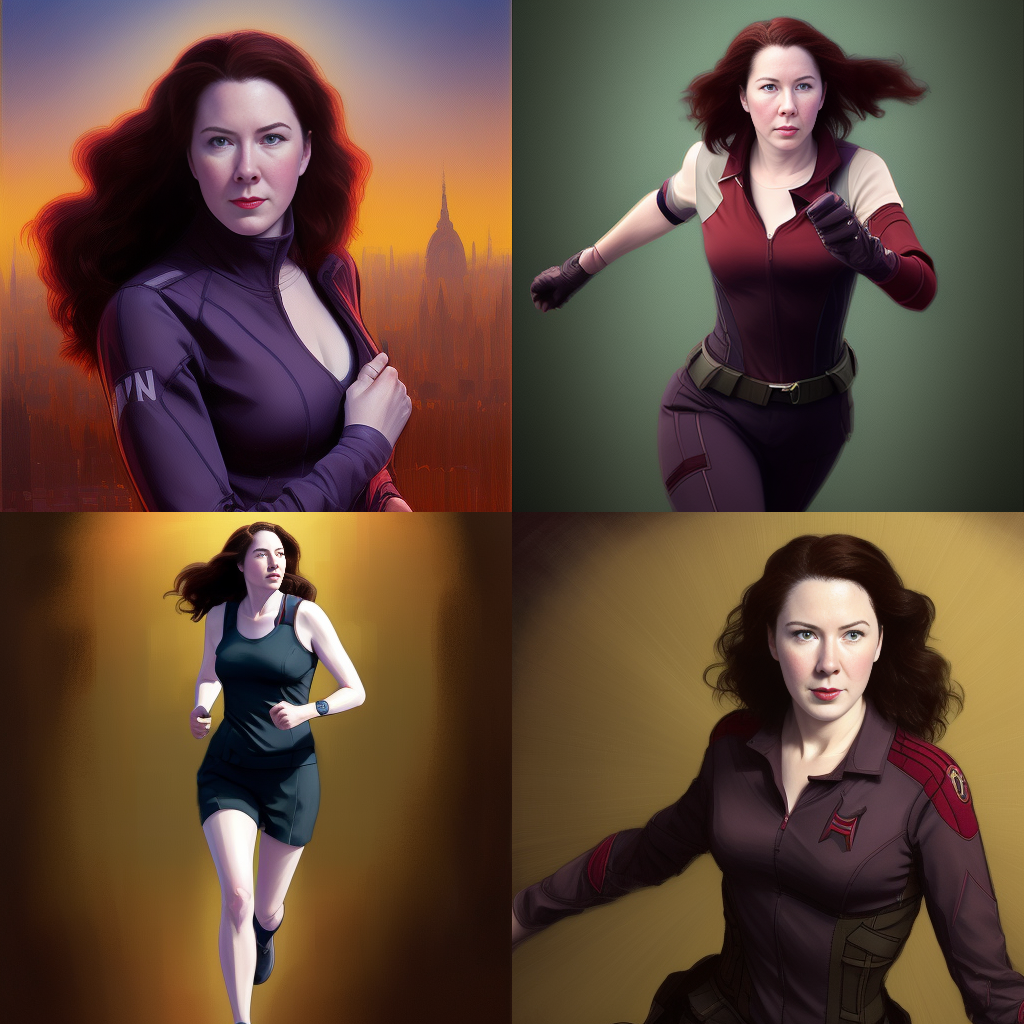
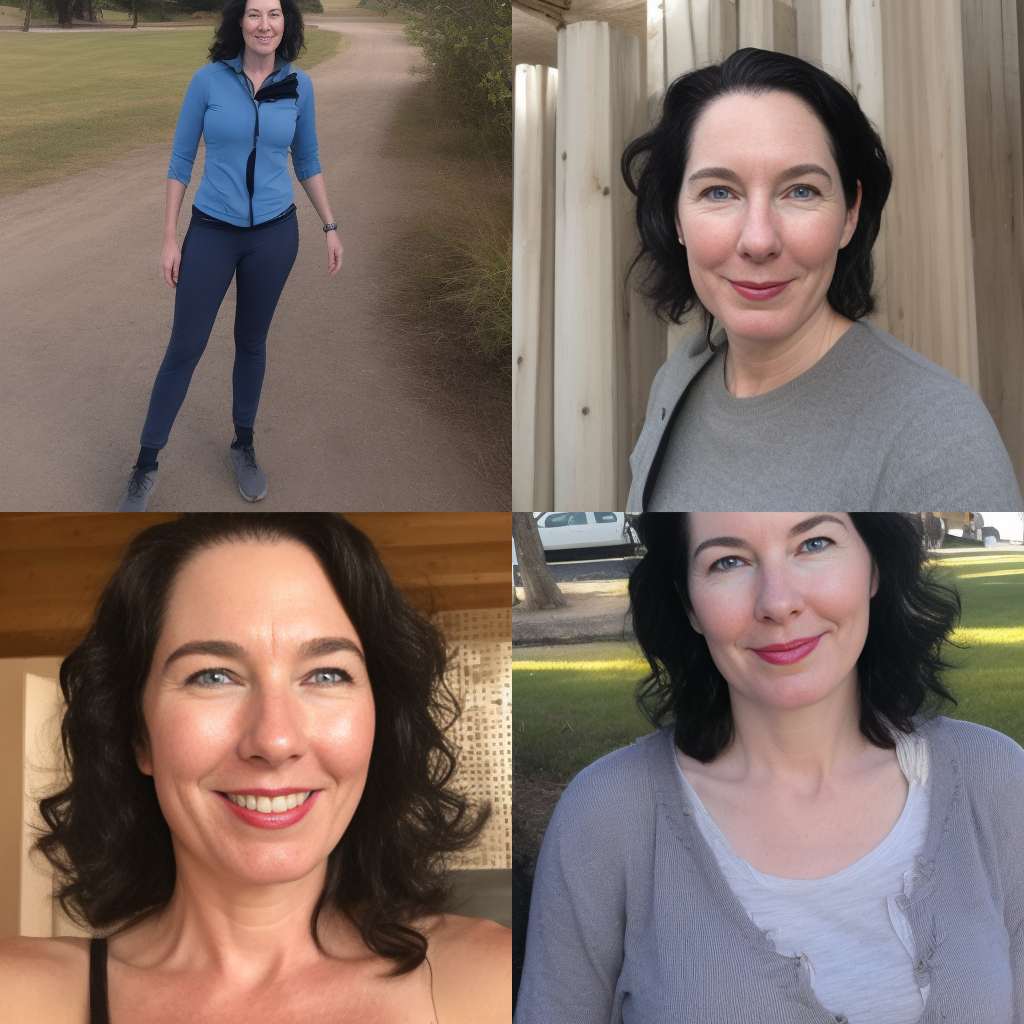
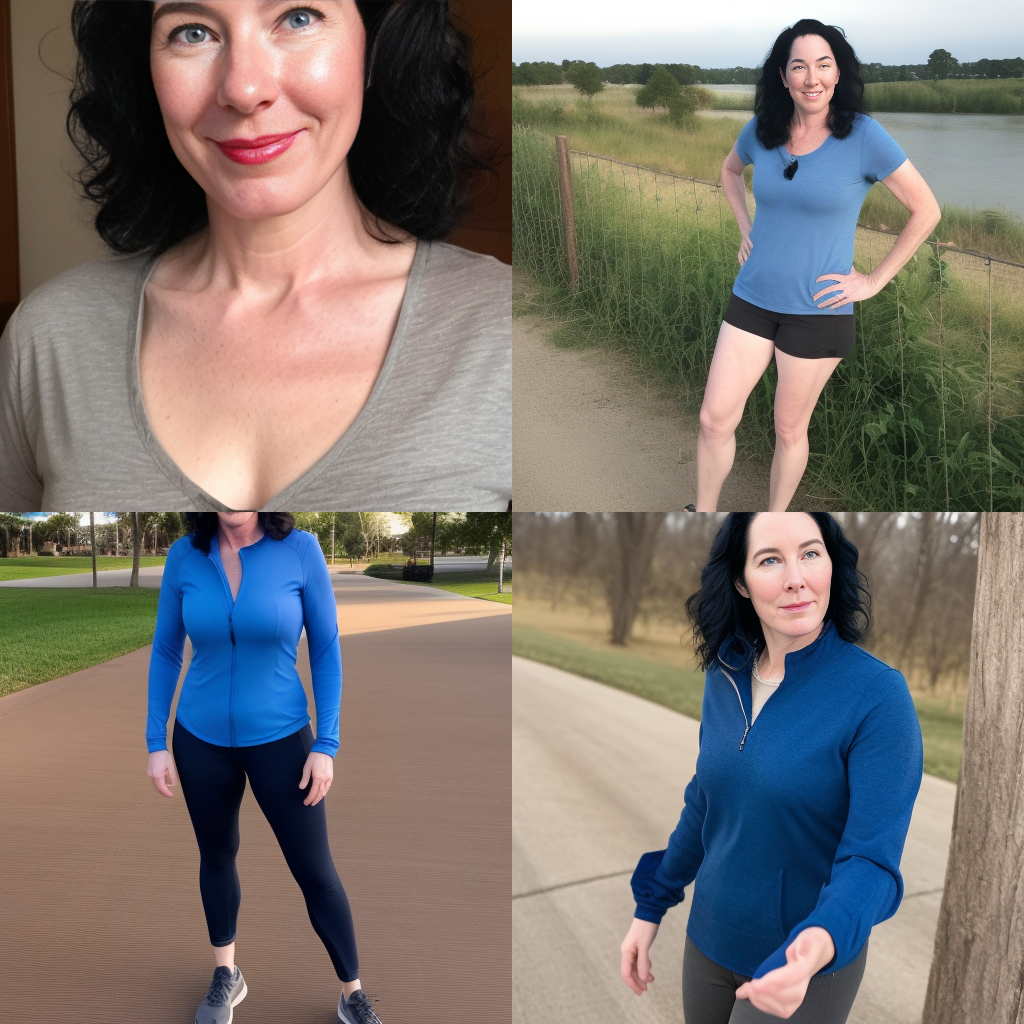
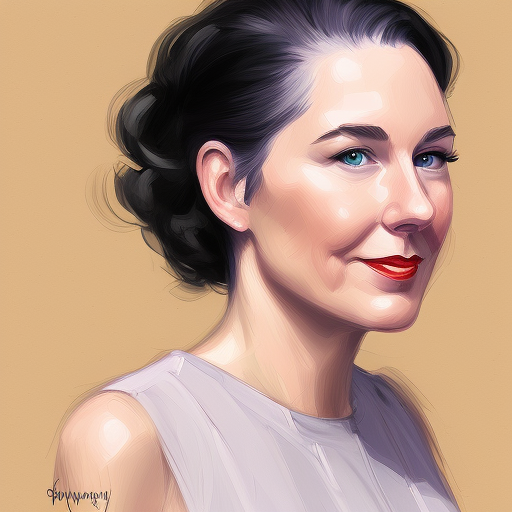
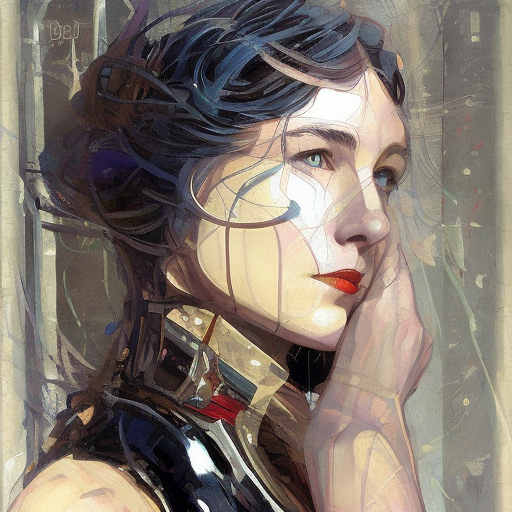
Using Dreambooth to train more than one subject token at a time to generate portraits using Stable Diffusion
TLDR; It didn’t work.
My instagram feed is full of selfies that are AI generated self portraits. Often surprising and evocative, a passel of sites have quickly spun up apps which let people stylize a headshot. More figurative images seem to possess the same sensibility and style as those of well-known artists. I have been doing a deeper dive into the world of generative art. Unlike the online apps like Lensa, which stylize a single image, I have been using Stable Diffusion to create a model that can generate images of multiple specific people in a wide range of scenes.
I got ahead of myself and conducted my 4th, 5th and sixth experiments without writing them up. In my second experiment I moved to customizing a Stable diffusion model. In the third experiment I used a larger training set of better quality images. Taking the learnings from that experiment I resolved to try a different training set. At this point I think people are getting tired of seeing my AI generated self portraits, so I found a new model. (My partner is a good sport) I also decided to fine-tune the model on two tokens at once. In this case my daughter Anne and my partner, Meighen. Instead of Shivram’s colab I used fast-DreamBooth colab from https://github.com/TheLastBen/fast-stable-diffusion. No real motivation except that online comments said it was faster.
Preparing the Self Portrait Instance Images for Dreambooth
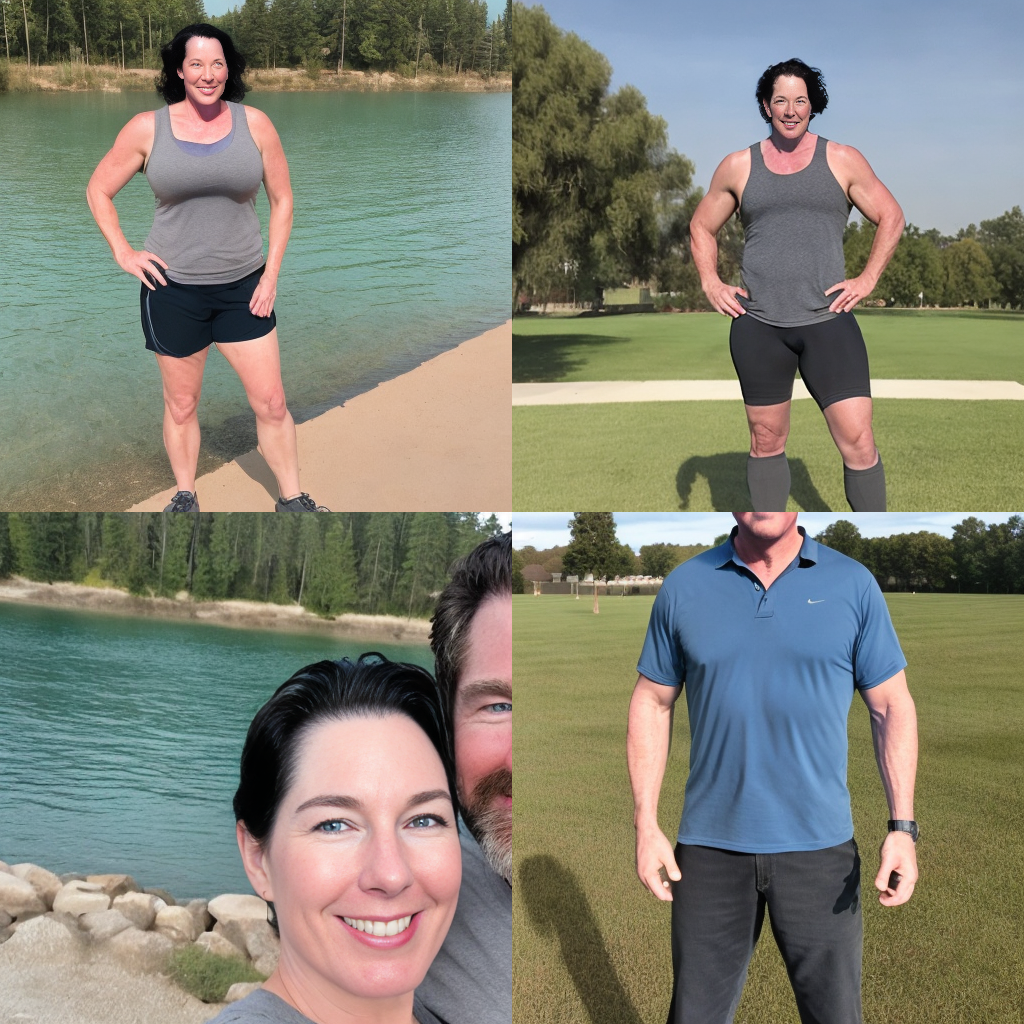
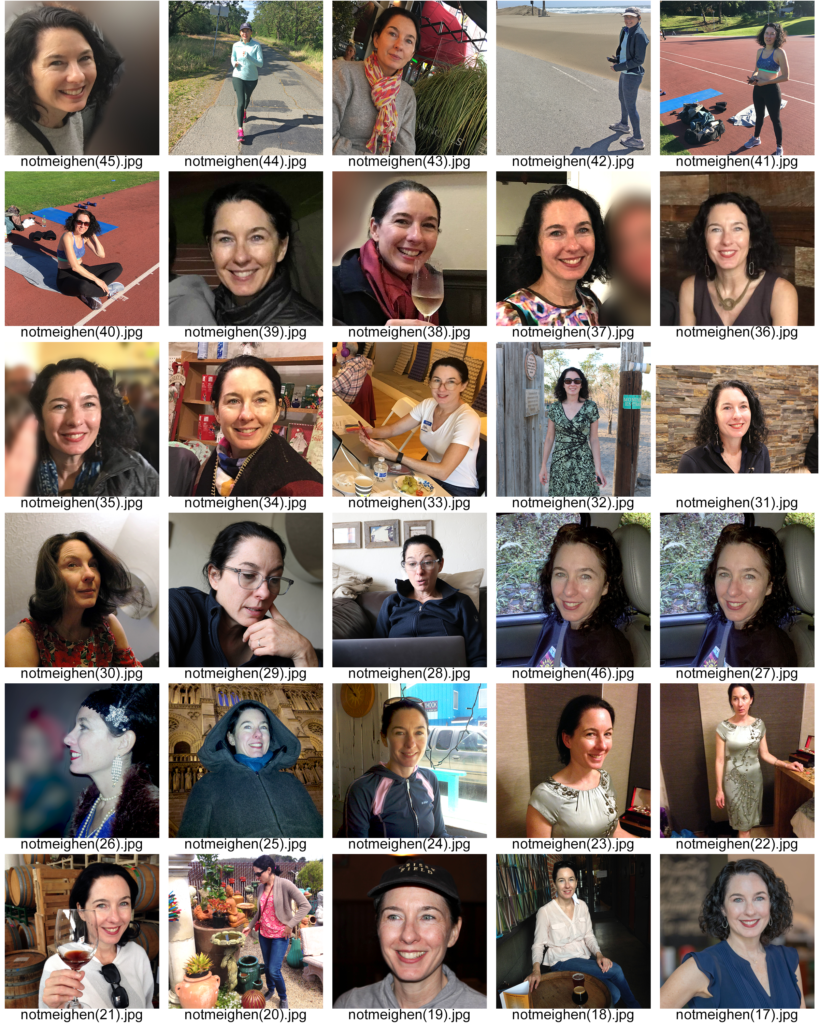
For this experiment I used 45 images of meighen and 26 of Anne. Some people have gotten results from using as few as 5 instance images. My experience has been a different in my previous experiments. One prepares the instance images by naming them all with the name of the token. E.g. token.jpg, token (1).jpg, token(2).jpg. This takes some doing. I used Adobe Photoshop to batch process. First, I opened all the instance images I was going to use for that token and processed them by correcting the color, tone, balance, removing extraneous objects or people and cropping them to square aspect ratio.
Next, I picked one image and recorded a series of actions. First, I resized the image to 512 x 512 pixels and saved to token.jpg. I stopped recording. Next, Having completed one image, I automated a batch process for all the open images. In the batch dialog box, I clicked override saving commands and built a little naming template that gave me result I wanted. With all the instances ready. I opened up the colab and clicked to the steps. Tool tip: It’s much faster to drag and drop your images into the file browser in the colab interface than to use the script.
The Right Number of Training Steps
In my first run, I over-fitted the AI generated self portrait model with 20,000 steps. This became apparent when I went to create images. I could not get any reasonable likeness – Only mangled blobs. For the sake of my model’s cooperation, I deleted the images and started over. I ran the training again with a more reasonable 10,000 steps and was ready to run some inferences.
AI generated self portraits by prompting with two tokens trained at the same time.
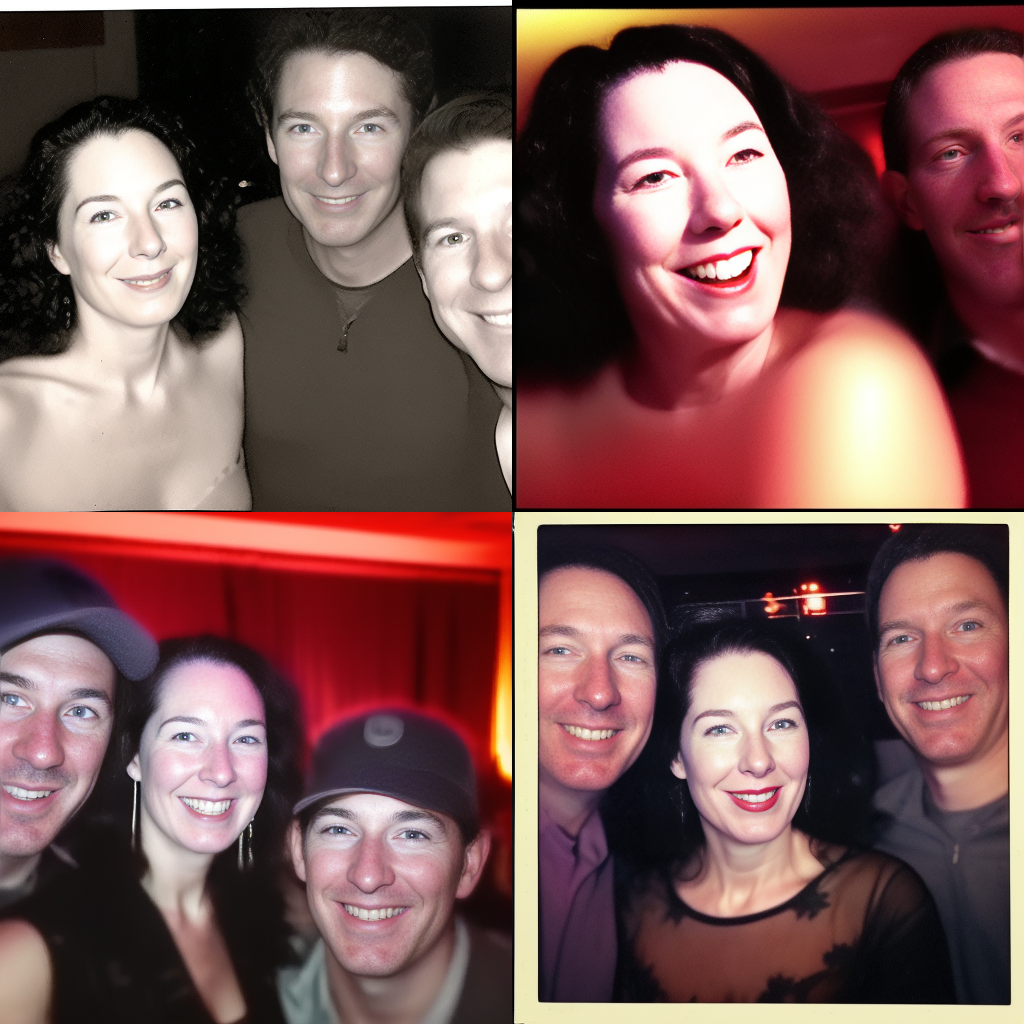
I started off with a simple prompt: A photo of Anne and Meighen together:
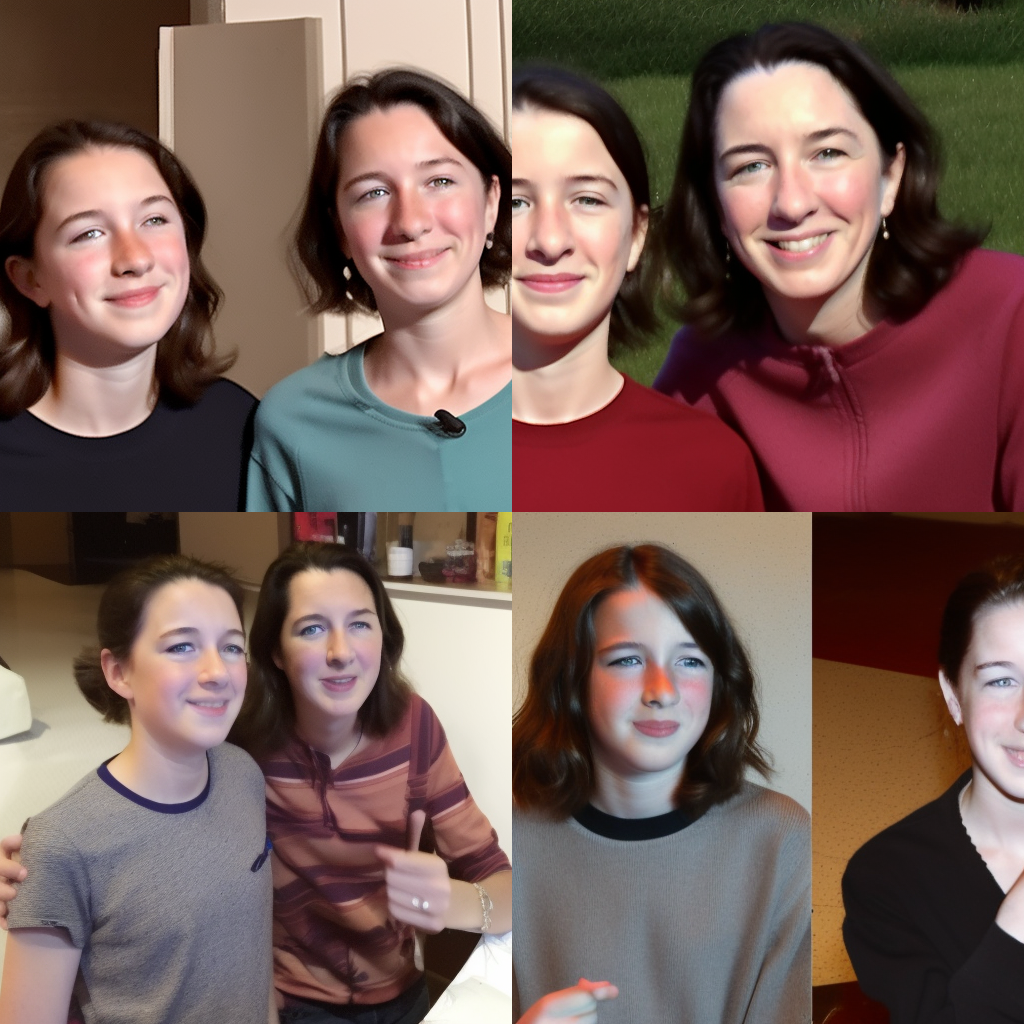
As you can see the features of each token blended together and I got a composite. This bleed over could be very hard to overcome.using just prompts. Accordingly, I decided that I would pull on that thread later and concentrated on seeing what kind of results I could get for just one of the two tokens I had trained. I apologize for not being very methodical in my attempts. I wanted to try all the myriad prompts I could imagine. The rabbit hole was deep, and I had a hard time climbing out of it. After thrashing around for hours, I got back down to business and started and started running the same prompts that I ran for my last experiment.
First results for just one of the tokens
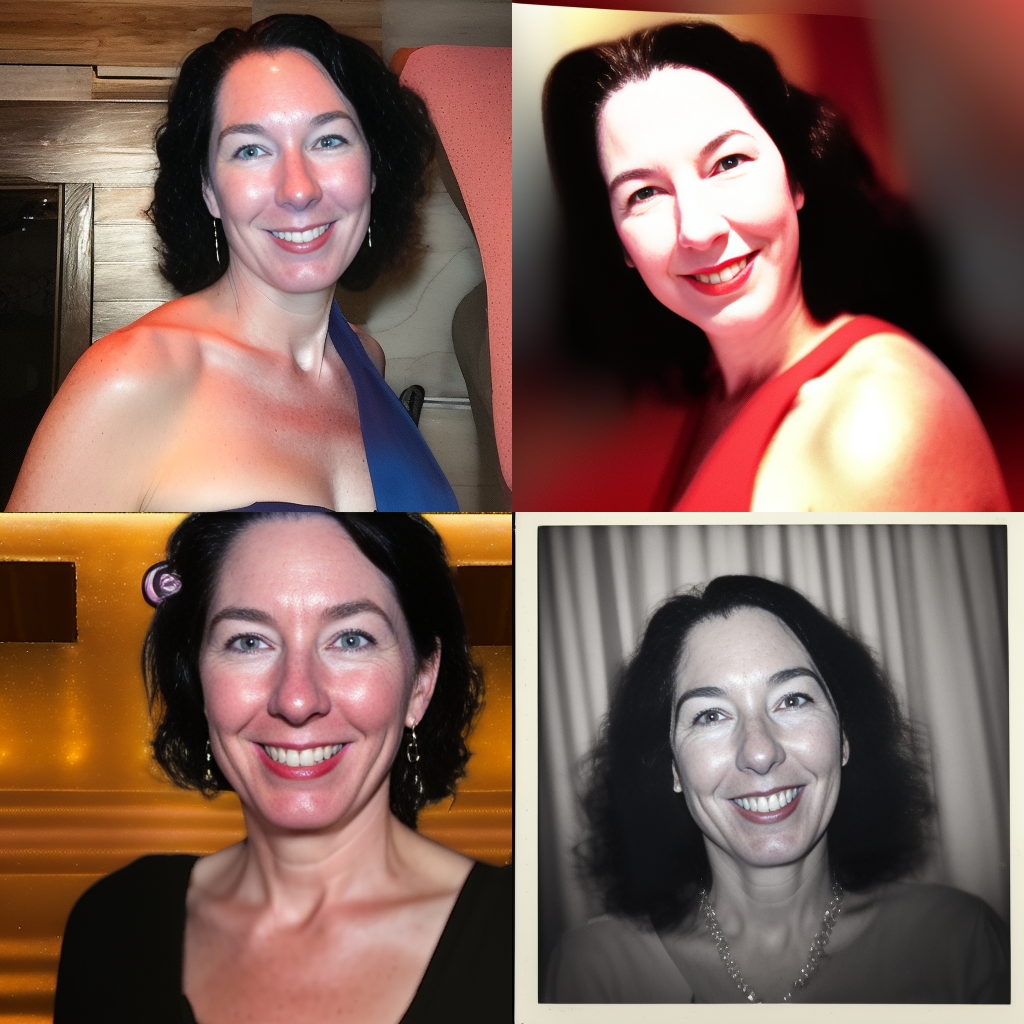
I started out with the default prompt in the notebook. I configured the inference console to generate 4 images at 512px x 512px.
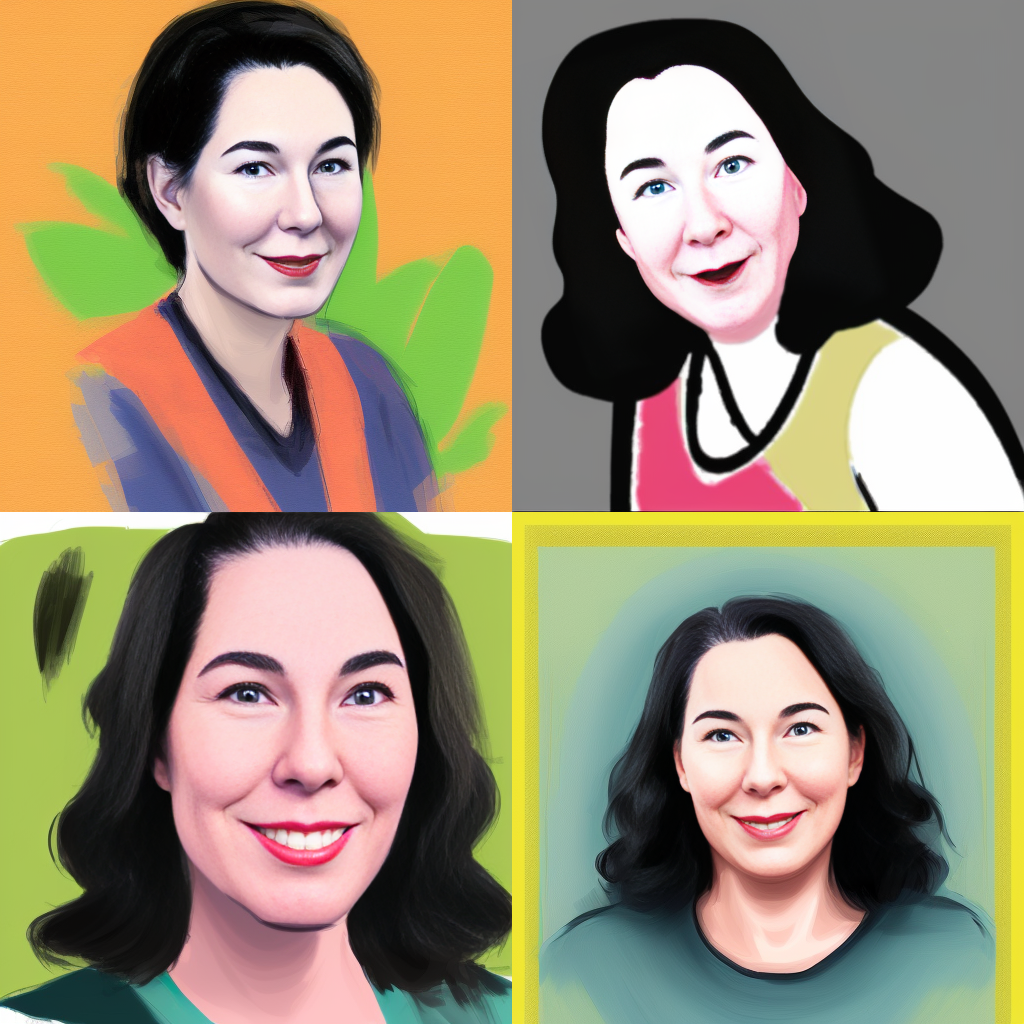
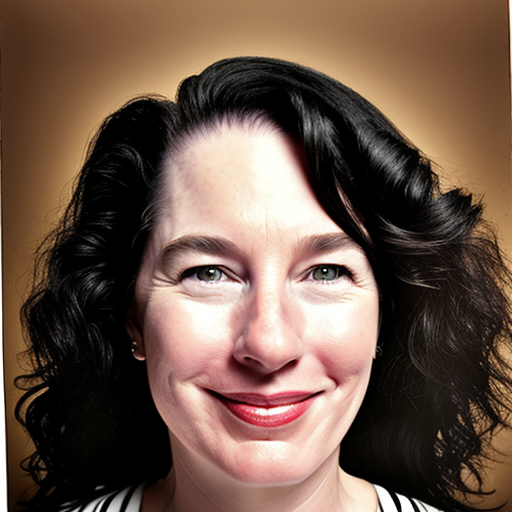
Not a great likeness of Meighen if you compare against the training instance images. I got some really different results than I did the last time with the model fine-tuned on the token representing my likeness.
Other Prompts
I ran through some of the highlight prompts from my other experiments. Starting with Studio 54
I Trolled Myself
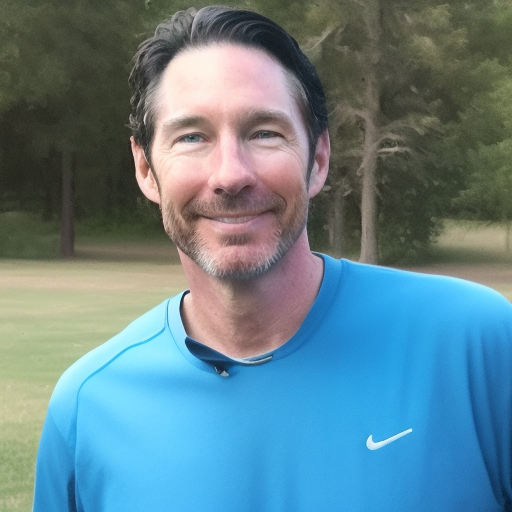
Even though I know these are synthetic pictures, I started to get a little jealous. Who are these guys in the pictures? I don’t remember hearing about any of this.
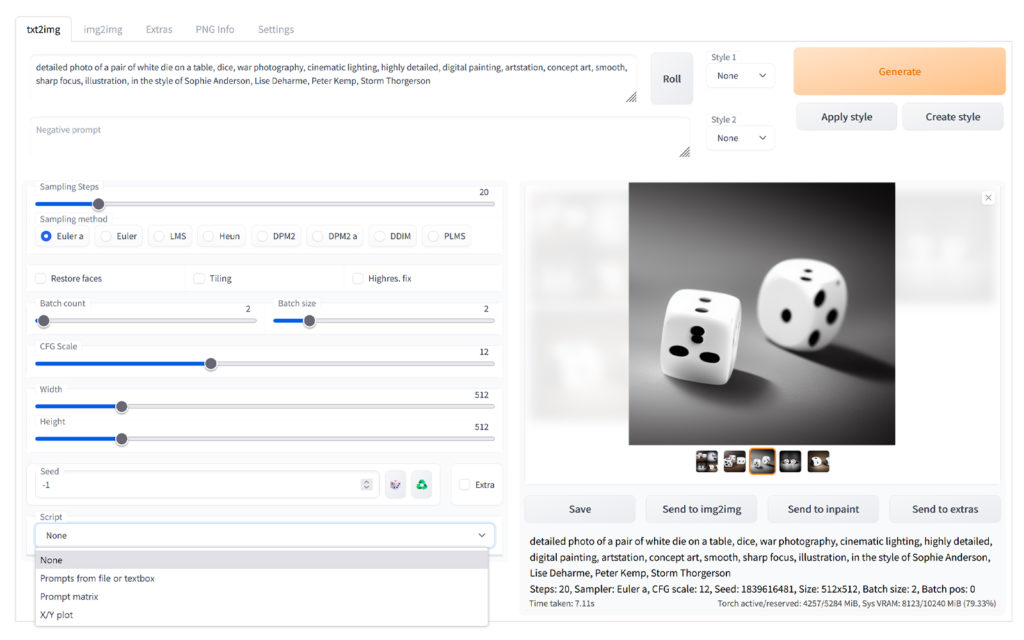
The WebUI Interface from Automatic111
The WebUI Interface is a lot more powerful than the interface I was using inline in Shivam Shirao’s colab. (image of interface) There are a lot more tools to tweak. The full documentation of the WebUI features is here. I was able to choose which sampler to use, the CFG Scale, the number of steps, and the seed to get image results that were more coherent. In the following images, I will try to indicate the settings for each of these.
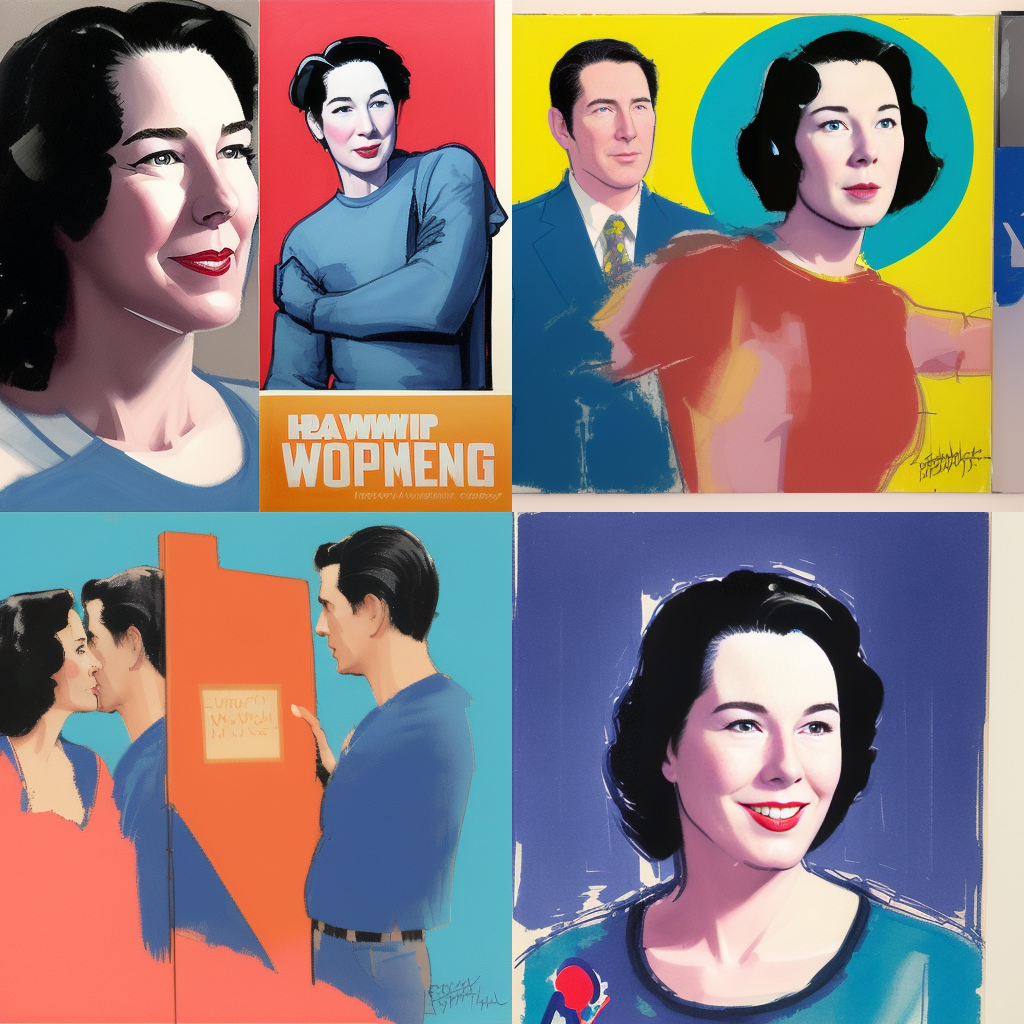
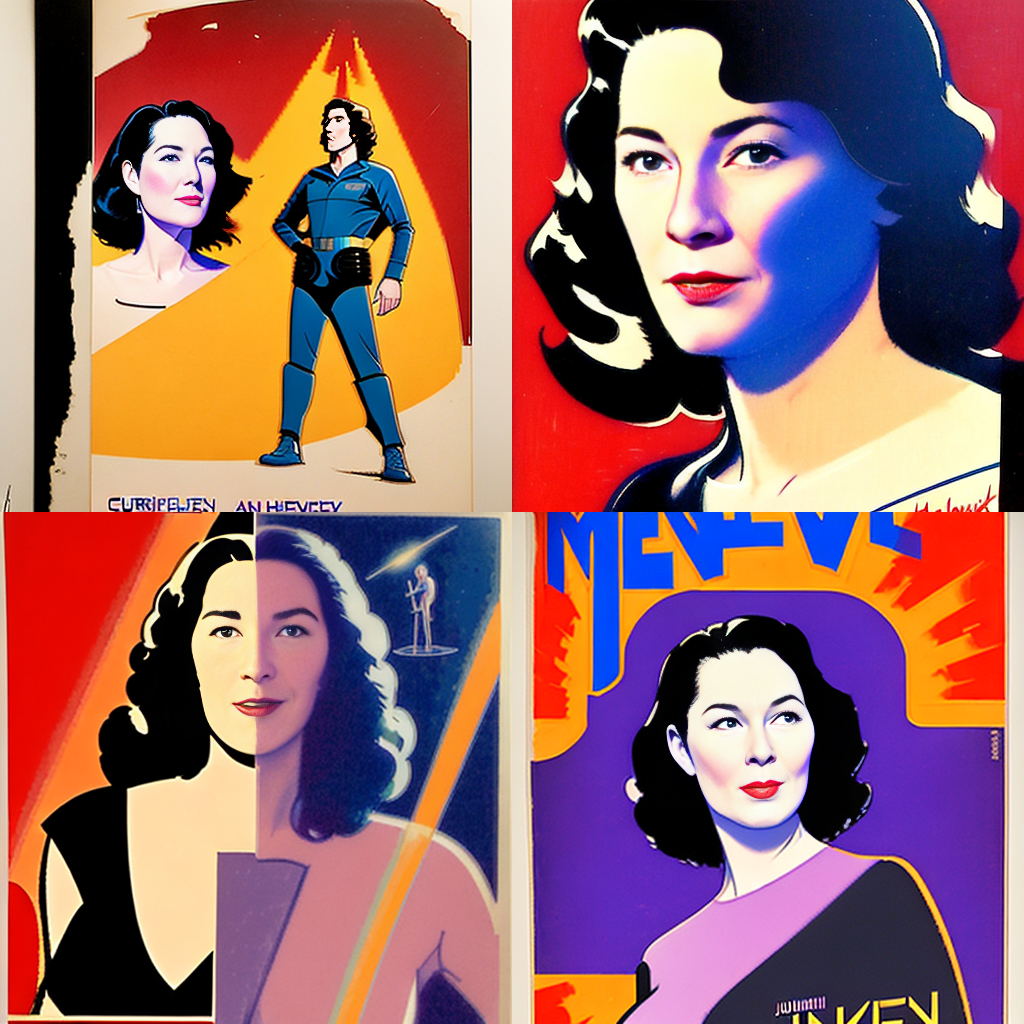
Movie Key Art
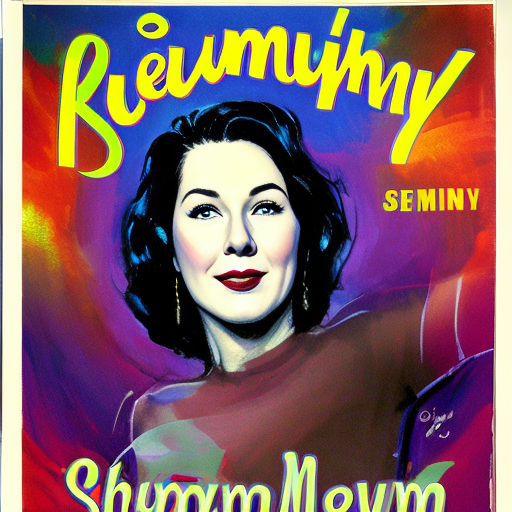
James Bond Cast As A Woman
The model didn’t really want to cooperate here. Perhaps I over trained the model so that it wouldn’t stylize. To compensate, I prompted the token along with the words Natasha Romanov, Black Widow from the Marvel Cinematic Universe.
Cross-gender Dating App Photo
Gender swapping shows the real power of AI generated self portraits. Trying to do a gender swap dating profile proved difficult. I guess that Meighen’s training images are just too girly to easily switch. My first couple of attempts yielded generated images that were all decidedly female. To overcome this tendency, I added adjectives that primarily used with men until I got the AI to spit out a picture of a man.
Better luck with Rembrandt Than Annie Leibovitz
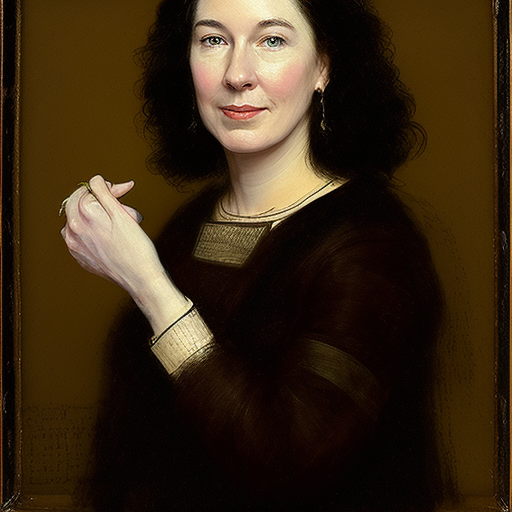
The AI generated self portraits from the prompt of Rembrandt gave a good likeness of Meighen and clear style of Rembrandt. For Annie Leibovitz, the AI seemingly could not resist including the features of the photographer’s likeness to the generated image.
Miscellaneous Other Prompts for AI Generated Self Portraits
Basically I tried to use the same prompts as in my other two experiments. Results varied.
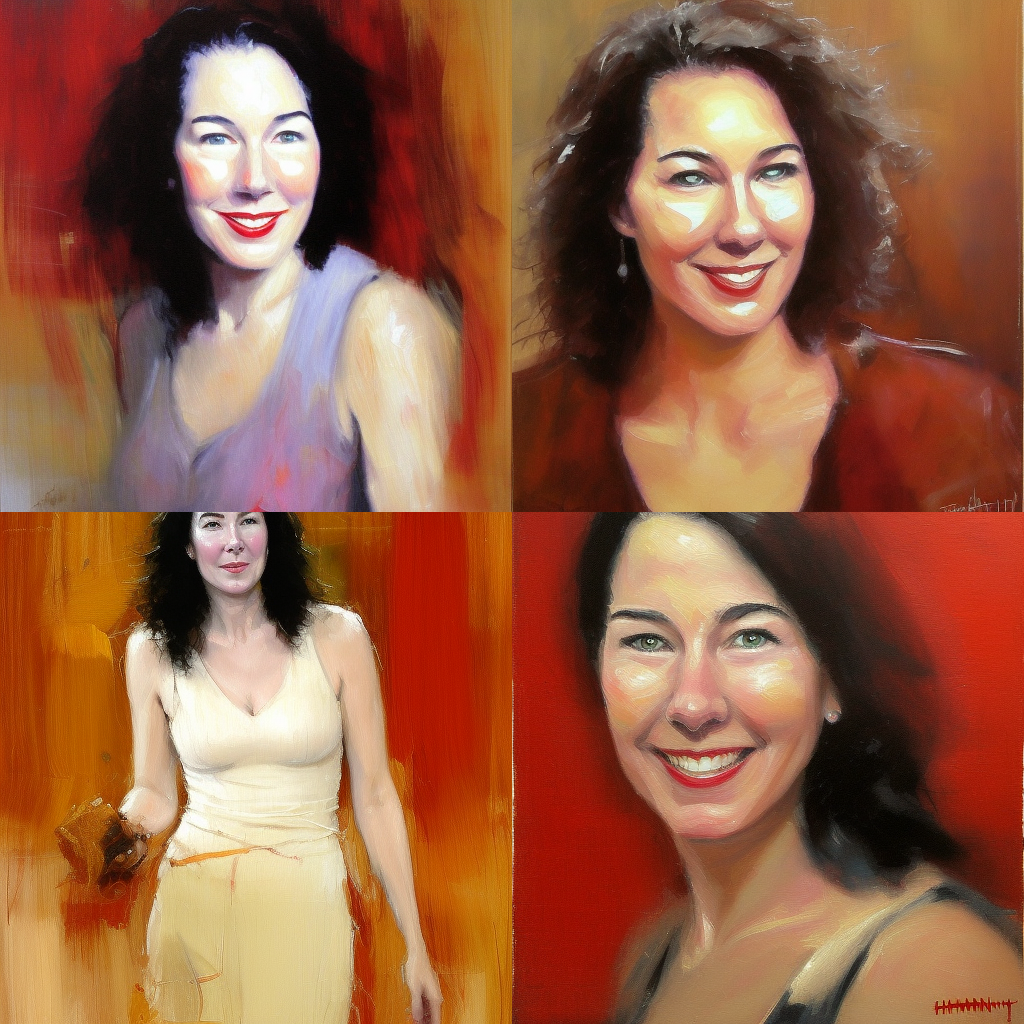
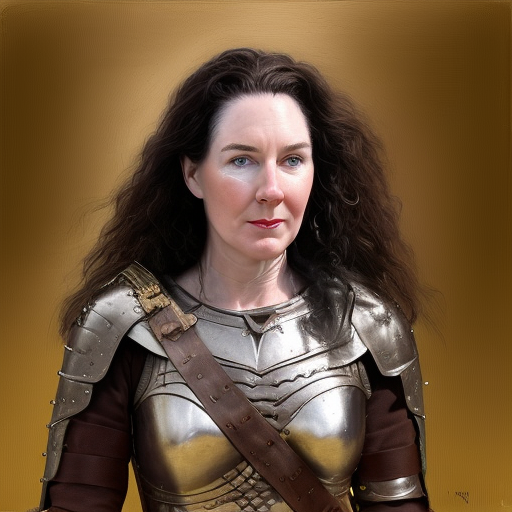
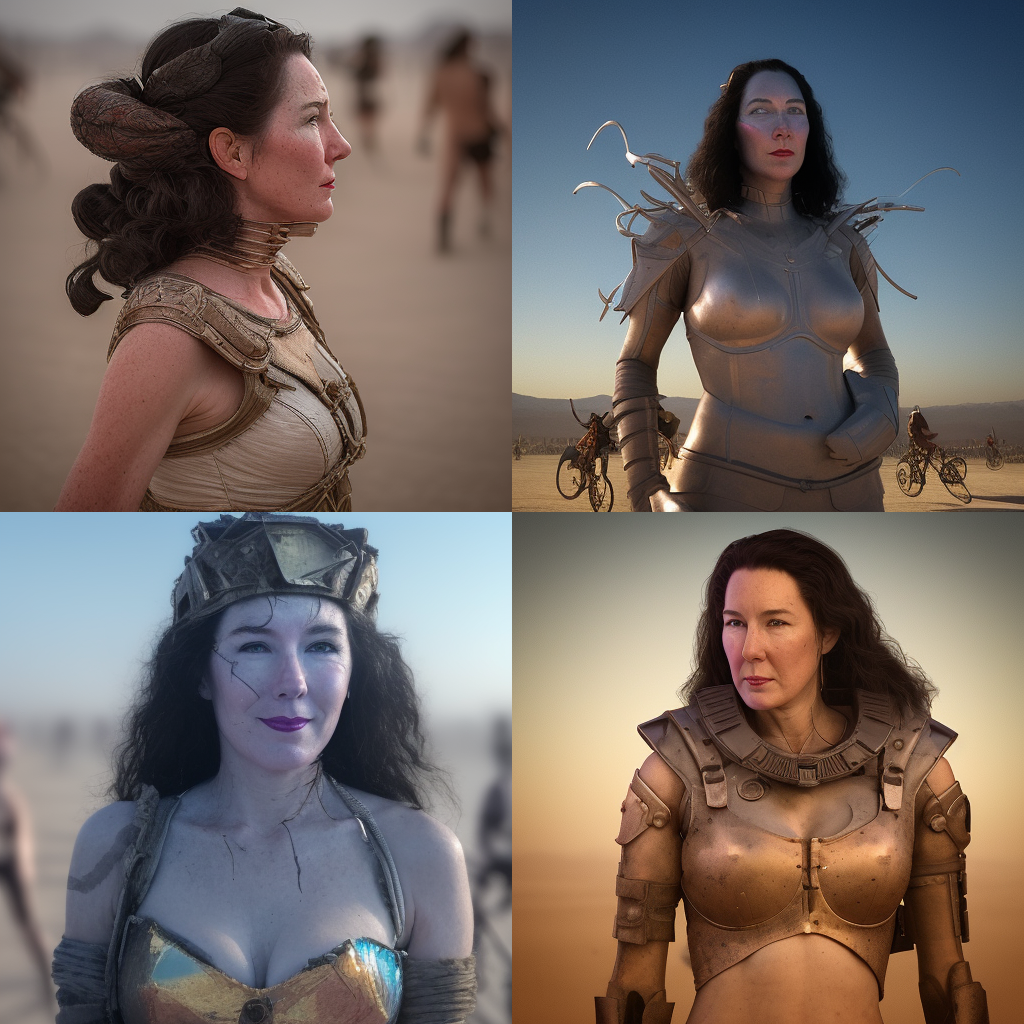
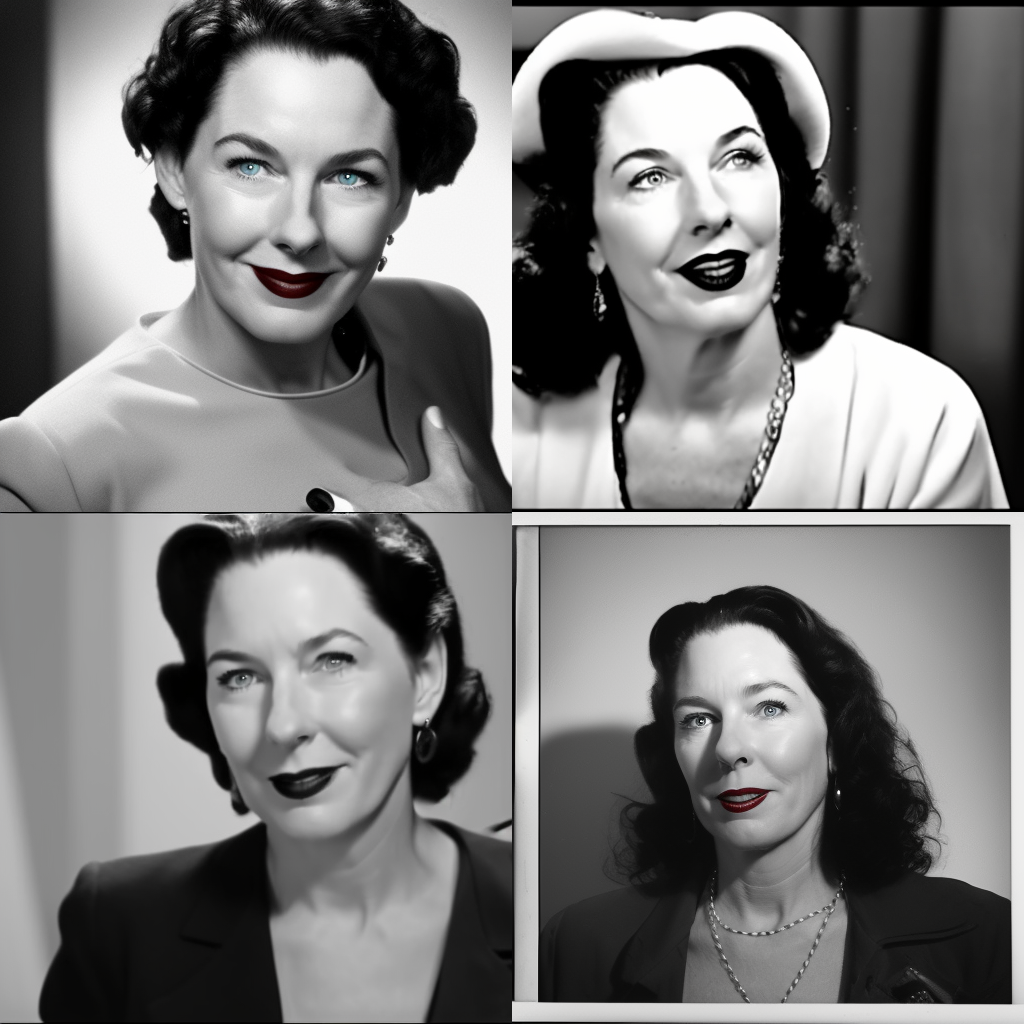
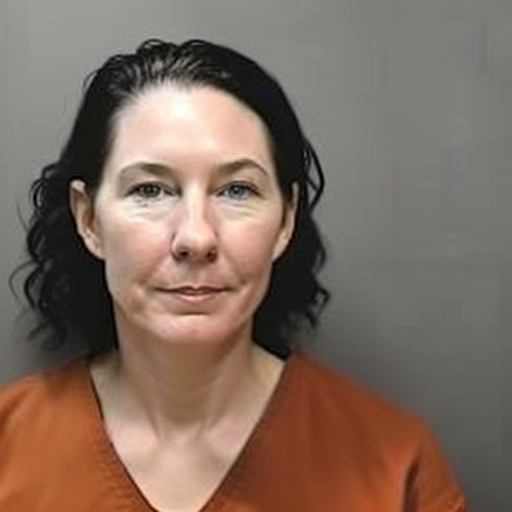
Classic Mugshot
The mugshot is turning out to be one of my reference prompts. It captures a mood and a context that many other prompts don’t. The generated images also seem to pull out the most distinctive features of the token in the model and render them in the worst possible light. I got a really good one with the notmeighen token.
Next Experiment
I generated a lot more images. For example the prompt “photo of attractive notmeighen woman corporate headshot technology, smart 40 steps 12 cfg” but the are mediocre and don’t add to the understanding of the potential of fine-tuning Stable Diffusion v15 with Dreambooth. Since then i have run a couple more experiments. For my next experiment, I trained a model on all four members of the Speiser family. My intention was to put Christmas card of ridiculous scenarios. Hilarious results ensue!
